Knitted Egg 3D Printing File: A Comprehensive Guide to 3MF and STL Formats
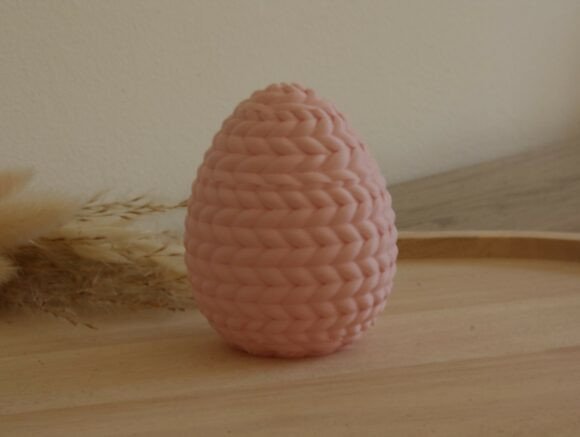
The Knitted Egg 3D printing file, available in both 3MF and STL formats, is a versatile and creative model that can be seamlessly integrated into various projects. Whether you are a professional, hobbyist, or educator, this guide will help you understand how to use these files effectively and integrate them into your workflow.
Understanding the 3MF and STL Formats
The 3MF (3D Manufacturing Format) and STL (Stereolithography) are two of the most common file types used in 3D printing. The 3MF format is more advanced, containing not just the geometry but also print settings, making it ideal for specific slicers like Bambu Slicer. On the other hand, the STL format is widely supported by most slicers, including Anycubic Slicer, PrusaSlicer, Cura, and OrcaSlicer, but requires manual configuration of print settings.
Preparing for Your Print
Before you start, ensure your 3D printer is set up and calibrated. The Knitted Egg model dimensions are 60.12 mm × 60 mm × 73.48 mm, and it can be scaled to fit your needs. However, be cautious when scaling too small, as extremely thin lines may not print well due to nozzle limitations.
- Check Filament: Ensure your filament is dry and of good quality. Moisture can affect the print quality.
- Print Bed: Clean and level the print bed to avoid adhesion issues.
- Room Temperature: Maintain a consistent room temperature to prevent warping and other print defects.
Using the 3MF File with Bambu Slicer
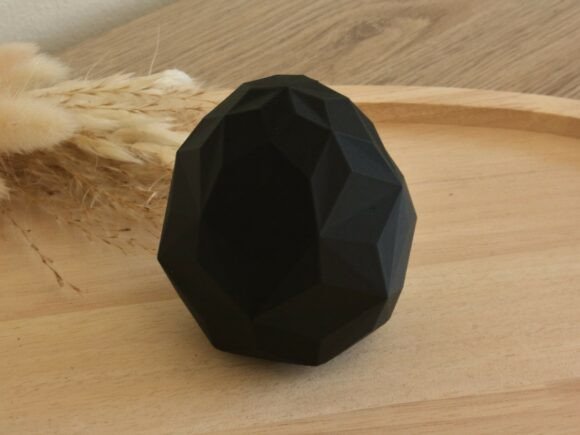
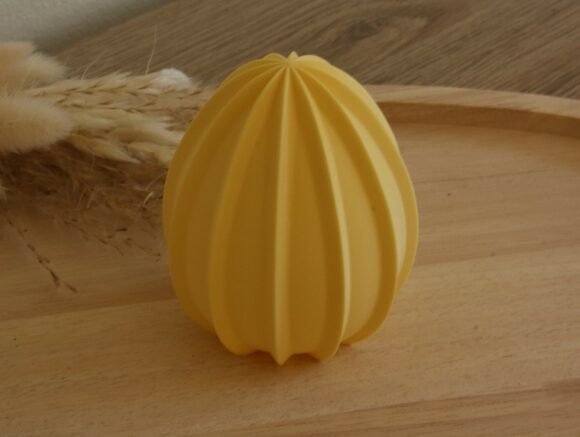
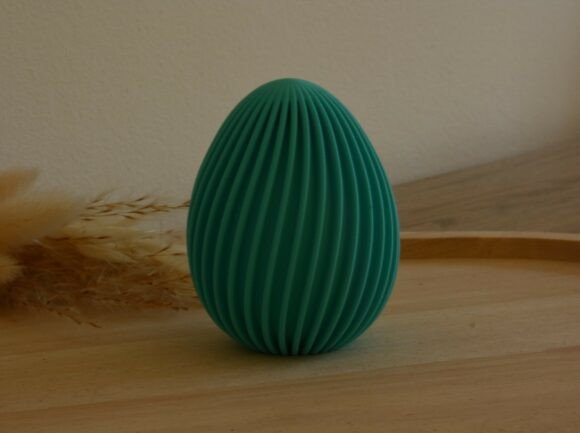
The 3MF file is pre-configured for optimal results with Bambu Slicer. This means that the print settings, such as layer height, infill density, and support structures, are already set. Simply import the 3MF file into Bambu Slicer and start the print process. The settings included in the 3MF file should produce results very close to those shown in the photos.
Configuring the STL File for Other Slicers
If you are using an STL file, you will need to configure the print settings yourself. Here are some general guidelines to help you achieve the best results:
- Layer Height: Start with a layer height of 0.2 mm for a good balance between speed and quality.
- Infill Density: Use a 20% infill density for a strong yet lightweight print.
- Support Structures: Add supports if necessary, especially for overhanging parts.
- Print Speed: Set a moderate print speed, around 50-60 mm/s, to ensure smooth and accurate prints.
Material Considerations
For the Knitted Egg model, PLA is a suitable material for most applications. However, if the print will come into contact with food or be used in particularly warm environments, consider using PETG. PETG has a higher softening temperature tolerance and is food-safe, making it a better choice for these specific use cases.
Post-Processing Tips
After the print is complete, you may want to perform some post-processing to enhance the final appearance and functionality:
- Remove Supports: Carefully remove any support structures, ensuring not to damage the model.
- Surface Finishing: Sand the surface lightly to remove any rough edges or imperfections.
- Cleaning: Clean the model with water and mild soap to remove any residue from the printing process.
Integrating the Knitted Egg Model into Your Workflow
The Knitted Egg model can be a valuable addition to various workflows, whether for educational purposes, creative projects, or practical applications. Here are some ideas on how to integrate it smoothly:
- Educational Use: Use the model as a teaching aid in 3D printing classes to demonstrate slicing and printing processes.
- Creative Projects: Incorporate the Knitted Egg into your craft projects, such as Easter decorations or home decor.
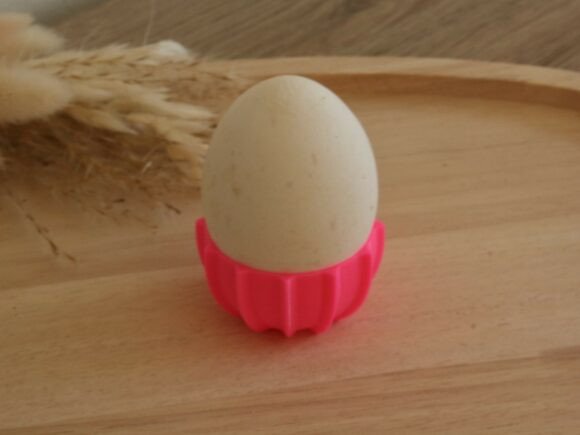
- Practical Applications: Utilize the model for functional purposes, such as creating custom egg holders or decorative items.
Conclusion
The Knitted Egg 3D printing file, available in both 3MF and STL formats, offers a versatile and creative solution for a wide range of applications. By following the provided guidelines and considering the specific requirements of your project, you can achieve high-quality prints and seamlessly integrate the model into your workflow. Remember to choose the appropriate material and settings to ensure the best results, and don't hesitate to experiment and refine your process for future projects.